Controlling the Raspberry Pi Camera Module
- Oct 4, 2025
- 2 min read
We teach and learn by making !
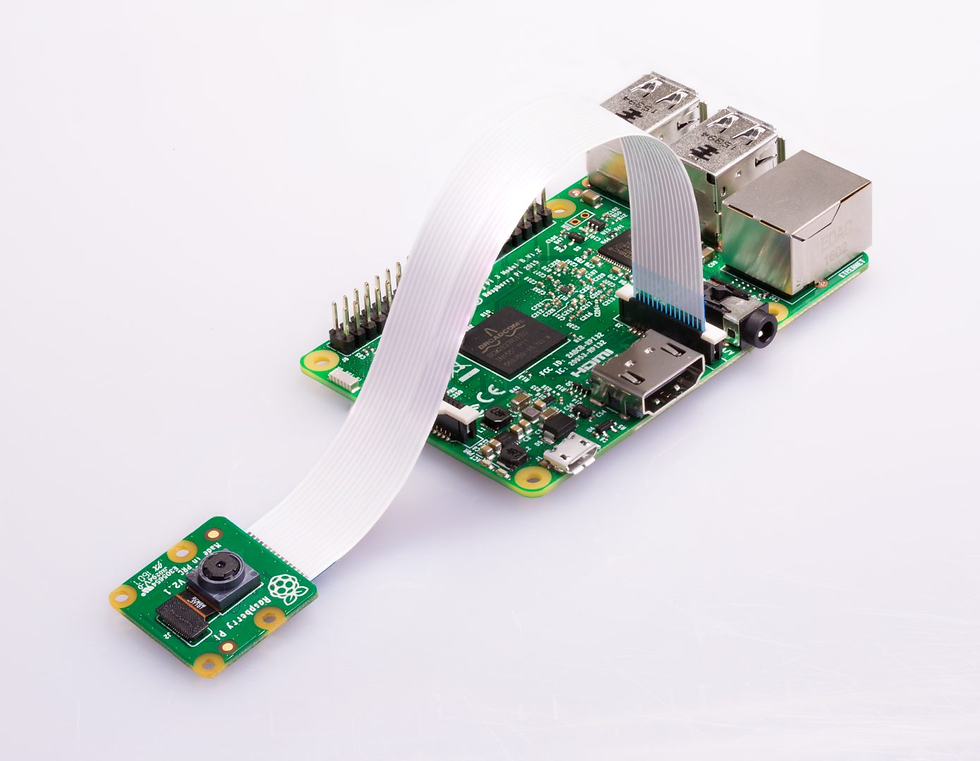
At Haruki Robotics Lab, students explore how coding interacts with real hardware. In this project, we use the Raspberry Pi Camera Module to take photos and record videos — first from the command line, and then with Python code. It’s a practical way to see how software and hardware work together.
Step 1 – Capture Images from the Command Line
Once your Camera Module is connected and enabled, open a terminal on your Raspberry Pi and type:
rpicam-still -o ~/Desktop/image.jpgThis takes a photo and saves it to the Desktop as image.jpg. You’ll briefly see a camera preview before the shot is taken.
To change the size of your image, add width and height options:
rpicam-still -o ~/Desktop/image-small.jpg --width 640 --height 480Step 2 – Record a Video
Use this command to record video with the Camera Module:
rpicam-vid -o ~/Desktop/video.mp4When the video finishes recording, play it back with VLC:
vlc ~/Desktop/video.mp4💡 For more details, check the official Raspberry Pi documentation for rpicam-still and rpicam-vid.
Step 3 – Control the Camera with Python
Next, let’s use Python to control the Camera Module using the picamzero library.
First, install it by running:
sudo apt update
sudo apt install python3-picamzero
Then open Thonny (or any Python 3 editor) and create a new file named camera.py.
Show a Preview
from picamzero import Camera
from time import sleep

cam = Camera()
cam.start_preview()
sleep(5)
This starts the camera preview for five seconds, then closes automatically.
Flip the Camera View
cam.flip_camera(hflip=True)
cam.start_preview()
sleep(5)
You can also combine both horizontal and vertical flips:
cam.flip_camera(hflip=True, vflip=True)Step 4 – Take Still Pictures with Python
Now let’s take a photo and save it to your Desktop.
from picamzero import Camera
import os

home_dir = os.environ['HOME']
cam = Camera()
cam.start_preview()
cam.take_photo(f"{home_dir}/Desktop/new_image.jpg")
cam.stop_preview()
A preview window opens, a photo is taken, and the file new_image.jpg appears on your Desktop.
Step 5 – Capture Multiple Images
You can take several photos in sequence:
cam.capture_sequence(f"{home_dir}/Desktop/sequence.jpg",
                     num_images=3,
                     interval=2)
This captures three images with a two‑second pause between each.
Step 6 – Record Video with Python
Modify your code to record a video instead of still images. After running it, your video file will appear on the Desktop.
Learning Goals
Use basic command‑line tools like rpicam-still and rpicam-vid.
Control the Raspberry Pi Camera Module using Python.
Capture, flip, and organize photos and videos through code.
Next Steps
Experiment with different resolution values.
Automate photo capture every few minutes with a loop.
Add AI tools to detect faces or objects in your photos!
At Haruki Robotics Lab, we teach and learn by making. This project lets students experience real‑world coding — using simple commands and short Python programs to bring their Raspberry Pi camera to life.


Comments